Look Like A Million Bucks (or Quid)
My daughter lives in the UK, and we often video chat and talk while I do some sewing. We recently decided to start a project to make an “ensemble” set of bags for her daily commute to work. You know, like the Rich and Famous. We started with the Lauren bag, then added in a few more items:
- the small size crocus oil pouch for small personal items,
- the clematis for larger necessaries,
- a little wallet for the cuteness factor, and,
- One Lauren bag to rule them all. (gratuitous LOTR reference)
I am using all the same fabric and vinyl for each item in different combinations.
So many great reasons to choose the Lauren Bag.
Why the Lauren Bag?
The Lauren Bag is from the wonderful and talented Lauren Mormino (Moremeknow.com). The pattern is a simple beginner friendly large bag with a top zipper. Lauren describes her pattern as “A great way to learn about new hardware and different sizes!”. It really is! It was also the first full size bag I made a few years ago. In this version, I will add the optional purse feet to fancy things up a bit, but stayed with the basics in making the rest.
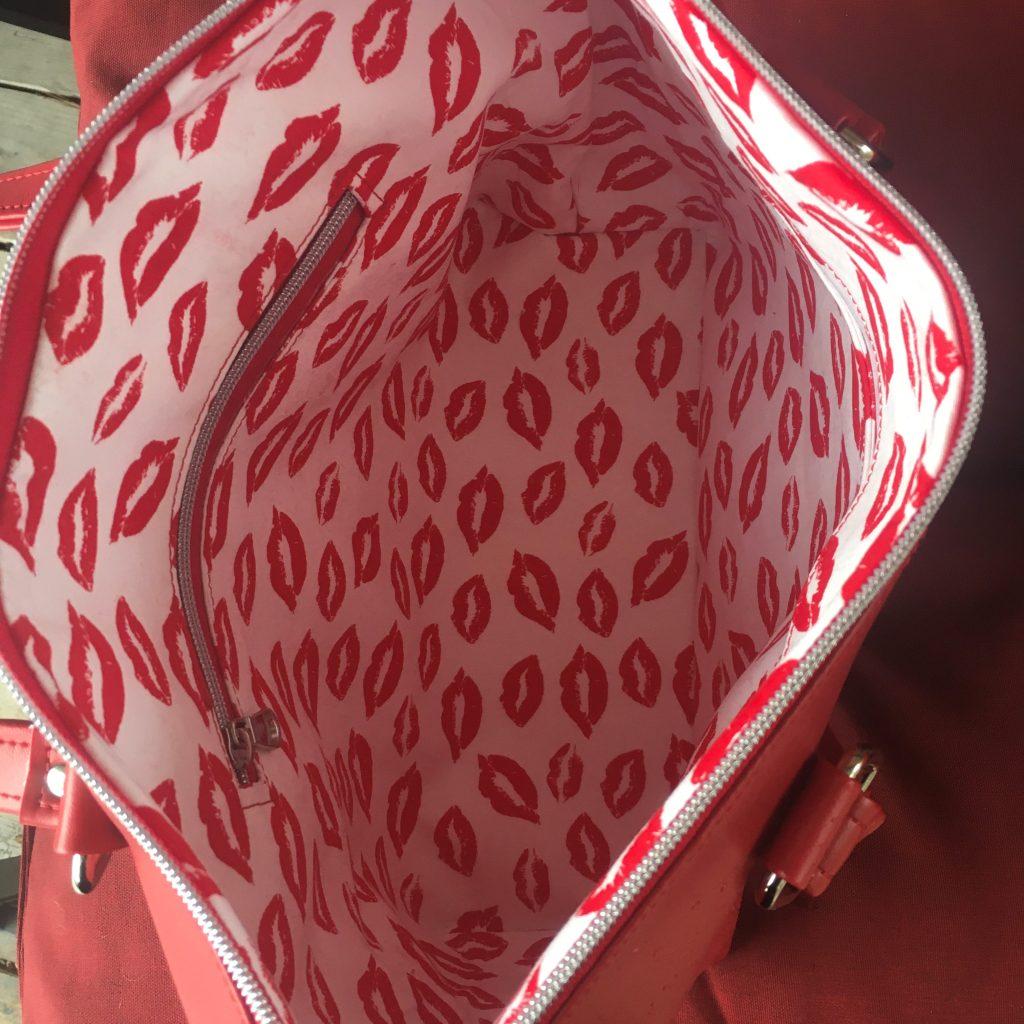
When starting out with bags, the hardware, interfacing requirements and variations, terminologies, etc. can be confusing (and can get very expensive). Starting with this pattern is good to get your feet wet. For me, I love the shape of this bag. The sides elegantly slope to the square bottom on the outside. But also the inside with the squared bottom has such a finished, professional look. Taking it up a level from a basic tote, it has a full closure across the top with a zipper and two inside pockets, one with a zipper. That’s it. Finished width is about 17″ x 11″ and 4″ depth at the bottom.
Okay, one more thing, this bag is really really easy to turn! The bottom of the lining is left open and get sewn later (through the side pocket!) AFTER turning or “birthing” the bag. This is such a great pattern feature.
Fabric & Hardware Choices
We are aiming for quiet elegance, understated but not under rated. Lofty goals indeed.

Fabric
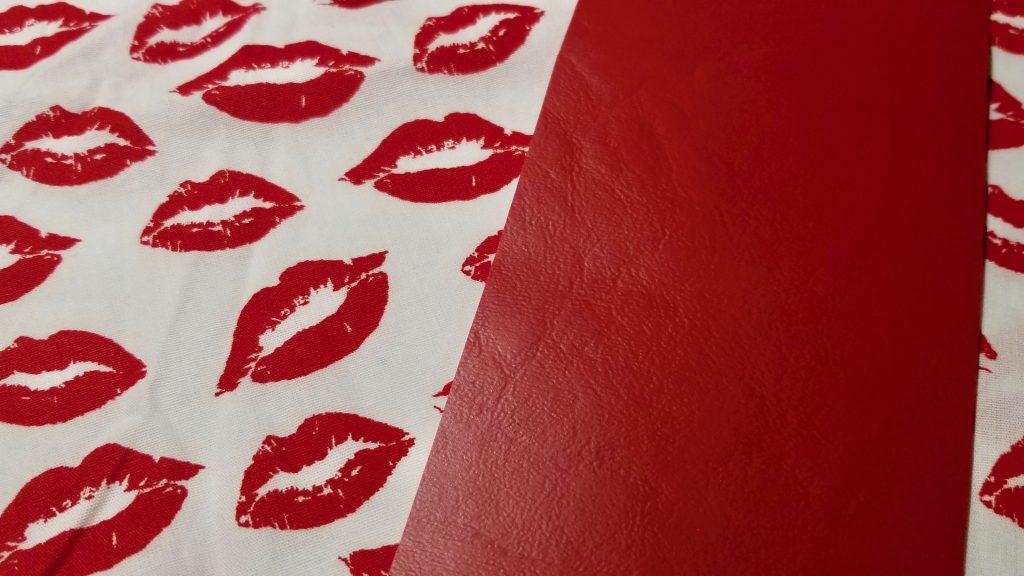
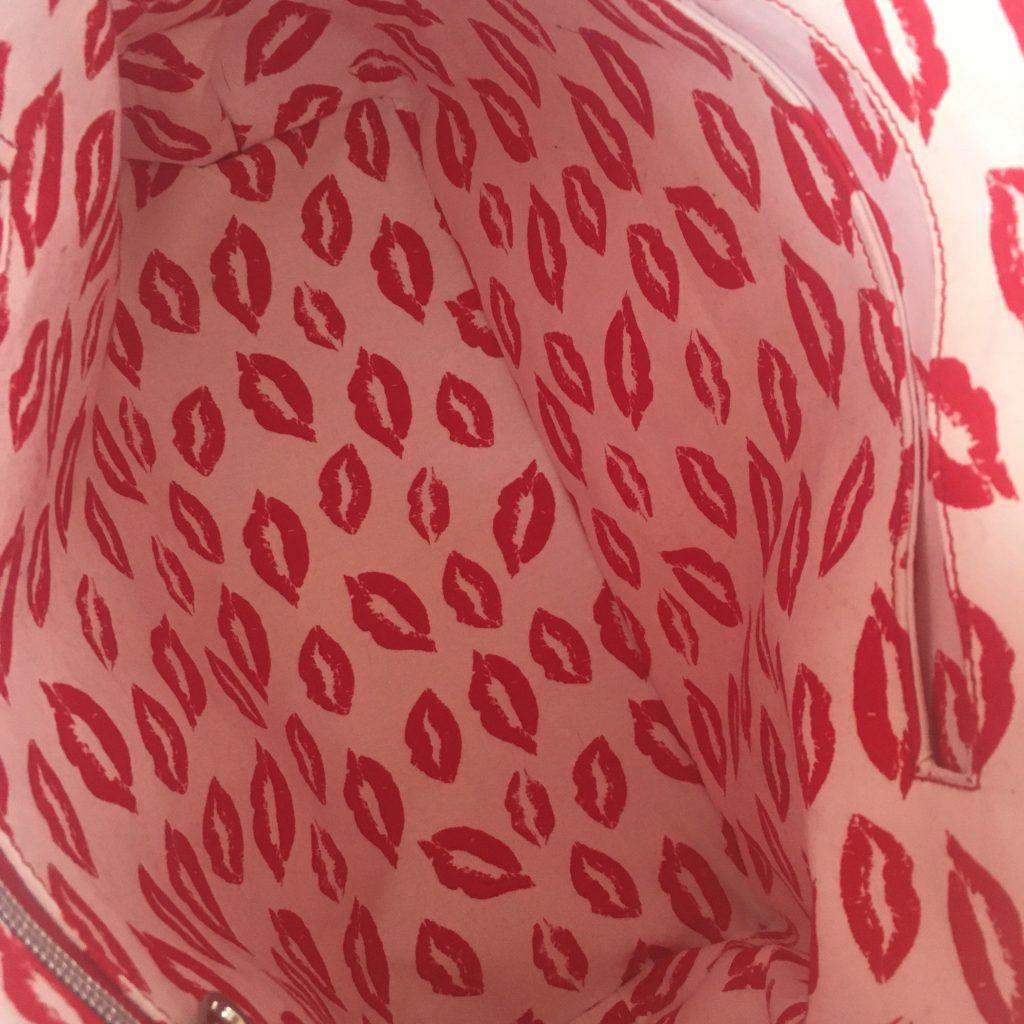
There was not much debate that the bag set would be red though. It is a favourite colour of said daughter. I have a metre of 39.25 weight red PVC vinyl on hand which is the first selection. The red matches well with this cute cotton fabric with lipstick lips that I bought from Mimifabrics a while ago. All set.
Interfacing
The first wallet I ever made was the Necessary Clutch Wallet. I figured at the time I would just make it without interfacing since, well, I didn’t know what I didn’t know. Nope. Interfacing is essential I found out! lol. I also found all the variations in interfacing incredibly confusing at first too.
In summary on interfacing, you will need 3 types of fusible interfacing:
- foam or non-woven (exterior)
- medium weight woven (lining)
- stabilizer (bottom)
You will need pellon 809, decovil light or even fusible foam if you’re using fabric for the exterior. I used the vinyl so skipped the interfacing for the exterior. I did use fusible woven interfacing for the lining. By the way, the medium weight woven interfacing from Blue Calla is really the best. Every time I use it, I take time to admire it first: the weight and quality of the cotton is lovely – and it is cheaper at 43″ width (double the width of SF101) AND it is from a Canadian supplier. I fuse it for 20 seconds at 400 with my easypress and it is sealed and done! Lastly, you will use a thicker firmer piece of interfacing for the bottom. Here I used Peltex.
Hardware for the Lauren Bag
I went with the two long strap options so I needed 4 square rings. I used red zipper tape with silver teeth and a silver zipper pull. I sourced my 5 silver purse feet from Amazon. Instead of stitching the straps, I used 4 – 8 mm rivets with 8mm posts and 4 – 8 mm with 9mm posts to attach the straps. Ensure you have rivets with 9mm posts because the 8mm will not be long enough.
Making the Lauren Bag
I used my Teflon foot on the Juki TL-2010Q and had no issues following the directions and sewing up the Lauren bag. It introduces basic methods that you will use over and over in bag making. I watched the video on YouTube of Lauren making the bag too and highly recommend them. I think it is great to start with, but also such a nice bag for anyone at any level to just enjoy a pleasurable make.
To make the handles, I used the vinyl, so double-sided tape was essential to make them. I have come to love the slow meticulous process of making straps! I also used the double-sided tape for attaching the connectors. It will make life easier if you have some on hand! For us Canadians, I get it from Paccana.
Generally, I prefer making the smaller bags and wallets – not because they are easier necessarily, but I just love a little purse or wallet. They are just so darn cute and functional. However, I think smaller items are usually harder to make. They can get really fiddly at the corners and arggggghhhh – don’t get me started on sewing curves. But, these larger bags sew up quickly and easily. They take a lot of fabric and interfacing, but are often fast and satisfying sews.
So, first bag finished. On to the next in the set.


Share your thoughts on this post here: