What is the Perfect Bag?
I believe that I may have found it. For me. For now. In Autumn. The Tremont Crossbody bag pattern by Hold it Right There Patterns is perfect for me right now – its a terrific size with a beautiful and somewhat intriguing finished shape.
In the past, I used a Devon as a daily bag, but I found I continually stuffed it a bit too much and so maybe – just maybe – it was a smidge too small? The Tremont is larger, that is both wider and longer, but it still sits nicely on my hip while driving (and even buckled up! Safety first). Because it opens so wide, I find it’s easy to find things while the side gussets prevent anything falling out. There is a convenient deep zipper pocket on the front and also a slip pocket with magnetic snap at the back. Inside the front is a PERFECT spot for my phone which slides in (and out) flawlessly! I love the curved shape on the top but also from the side it tapers up from the wider, boxed bottom to the top narrow double zipper.
There is an excellent detailed video by the designer, but also Jess from Oklaroots, Siahswag and SewGnar all have tutorials. I switched between the Hold it Right There tutorial and Jess Oklaroots. This is a well-supported pattern for bag makers.
First Make
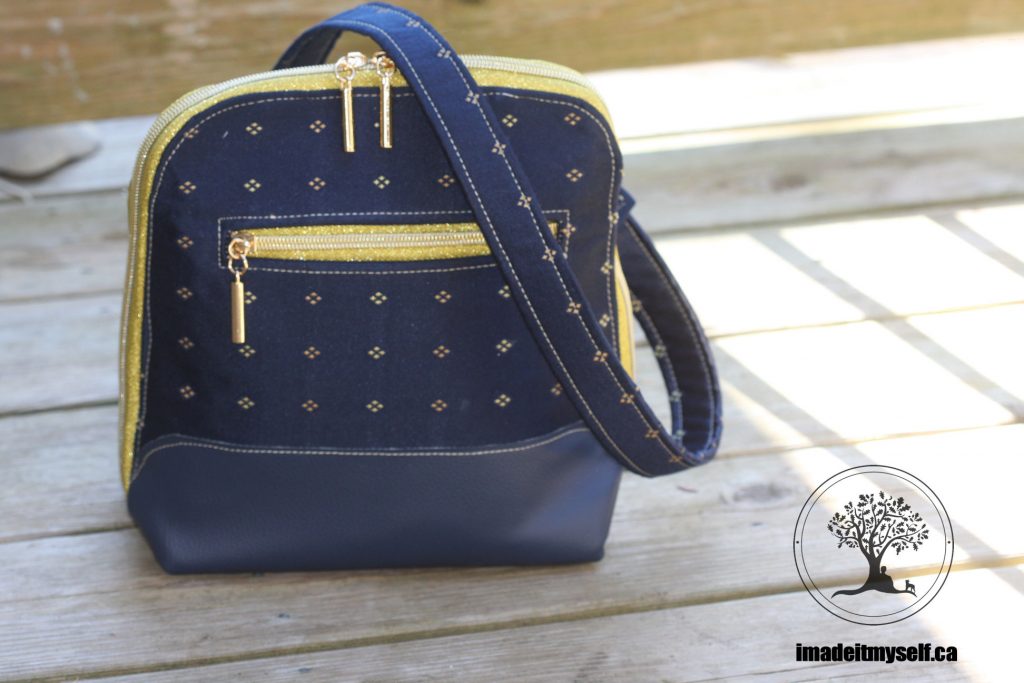
I went way way outside my comfort zone on this. I found a thick upholstery fabric in my stash – probably purchased from the bargain table at Fabricland at some point. It is a dark blue with gold coloured diamond shapes. Nice, but like all upholstery fabrics, it frays like crazy. This is reduced a bit once the interfacing is applied though. I also used nice matching faux leather vinyl in my stash from Emmaline Bags. I thought, a nice matching blue zipper tape would be classic and blend well with simple nickel metal hardware.
Then, while browsing at Mimifabrics, I saw this gold shiny zipper tape and thought – no? I couldn’t? Don’t do it. This is NOT you. So, I bought it. eek! It’s all crazy town from here dear reader!

Then, of course, I needed gold zipper pulls (which are rather elegant I thought – from the Emmaline Bags line of course). Not having good match for the thread, I continued down my crazy path and used a light beige contrasting colour. Who is this person??
Okay, so despite leaning into my colour choices, this first make was not my best work. I messed up the vinyl on the bottom (forgot to use my Teflon foot! duh) and it got distorted a bit (a lot) as I was sewing. Okay, I’ll show you a picture of the messy bit below, but don’t judge me too harshly. Luckily the boxed bottom made the issue practically invisible, so it is still wearable. At least I will be wearing it because I just LOVE the colours and the zipper tape! It is so nice and I’m very pleased.
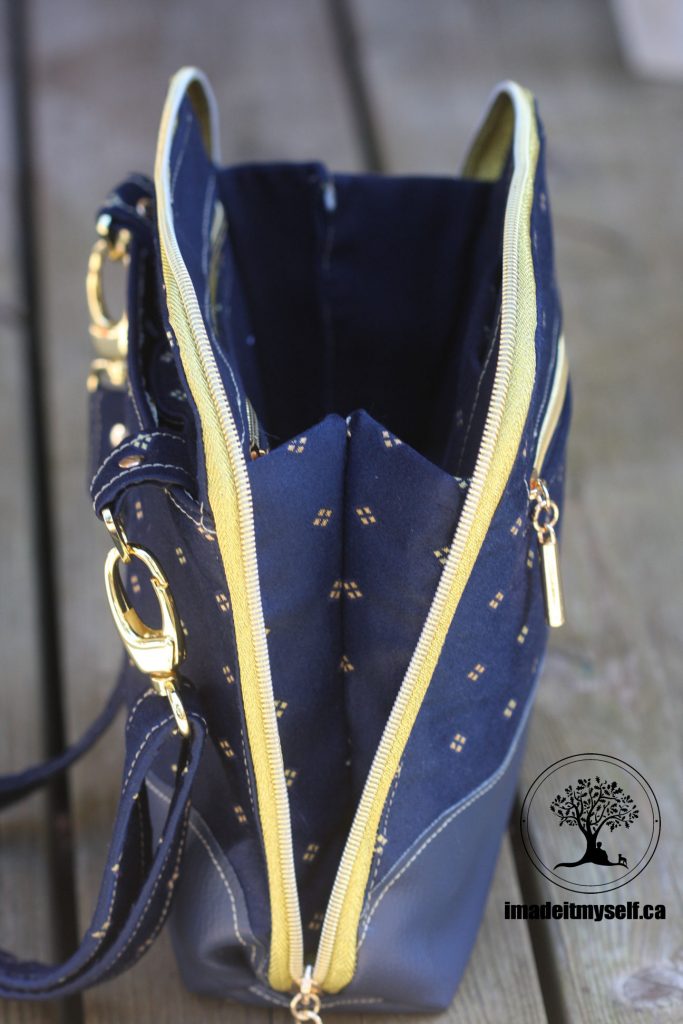
What I think I learned here …
I feel that I may have just made a break through on my personal bag making journey. At the time of choosing the gold zipper tape, I felt nervous and a bit reckless, yet in the end it was quite different and I wowed even myself. My process has always been to find quiet, understated and matching elements. But I don’t need to take the safe road with colours or anything else. I’m gonna let it fly and see where it goes. I’m sure I’ll have many failures, but also, possibly, some wins. Also, I figure that even if it’s not perfect, I’ll use it if it makes me happy.
Second Make
My second one is a Christmas gift for my daughter. She chose the fabric and hardware with me and this time we went fancy shmancy.
Course, this one will be better and I will use the other “option” for the bottom. It has to be special for my daughter after all.
Hardware
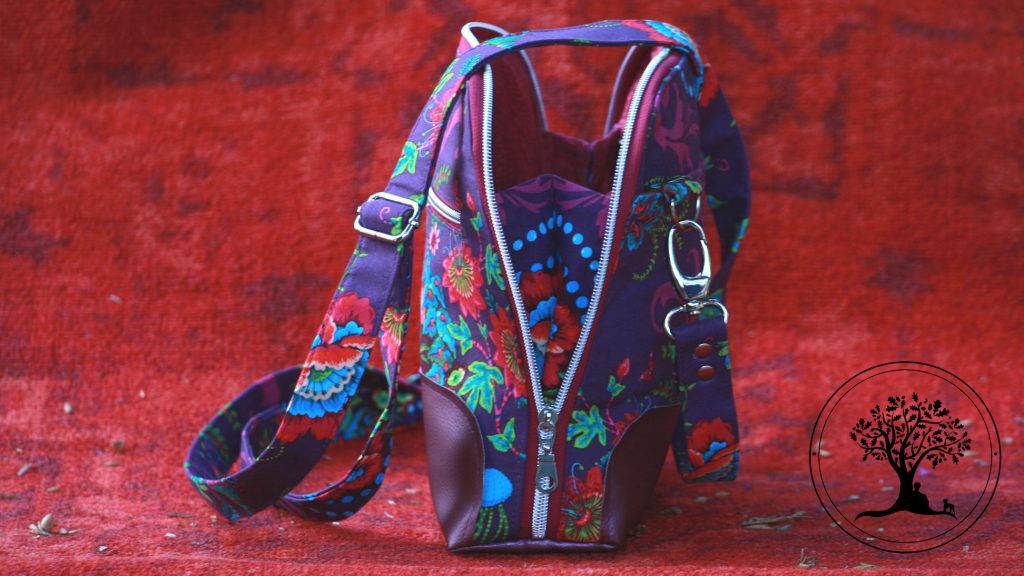
There is quite a lot of bag hardware needed for the Tremont. I used 4 zipper pulls (two for the main outside, one for exterior pocket and one for the interior pocket) and #5 zipper tape. I also used two snap hooks, two triangle d-rings and a slide adjuster. The front zipper pull is the lovely heart. I used all 1″ silver hardware here from Emmaline bags of course. It also took a magnetic snap for the back slip pocket and rivets for the straps.
Fabric
The fabric is Flower Fairies in Plum from the MagiCountry collection by Odile Bailleul. It is available online in Canada from Blue Calla in Toronto at the time of writing. The lining is Fuchsia Fire from the Elements Collection by FIGO Fabrics. I also used decovil light on the main exterior and Pellon peltex for the base. All the cotton is interfaced with the beautiful medium woven interfacing from Blue Calla.

With such an obvious design, I spent a lot of time fussy cutting the fabric for design placement. I was obsessed about getting the front right with the zipper placement halfway through the main plum fairy. I figured the shoulder height would be best to get the most of the remaining pattern included and least disruptive to the fairy body. But, the real triumph here was the back. I mean, just look at how that back panel lined up with the curlicues. It is just perfection and I keep looking at it. Can’t believe it worked so well. Mind you, I spent way too long measuring and re-measuring before I cut but it was so worth it!
This time I also nailed the boxing at the bottom too. Phew!
Closing Thoughts
The gusset is such a cool feature, and it’s what drew my attention initially to this design. They were fun and easy to make. I also added a label inside with a special note to my daughter.
So the only challenge in making this bag (not really a challenge) is that you need to bind the interior insides at the bottom edges. This was my first binding in a bag, but it is just applying bias binding similar to many clothing patterns so it was not scary at all!. Further, and let’s be honest, this is the very bottom of the bag at the edges. No one is going to see stitching there. However, I can assure you, mine is perfect. Take my word for it – nothing to see here.
If pushed, I would say my mistake in this bag would be that I made the top stitching too wide on the vinyl at the bottom. My excuse is that I remembered to put on my vinyl foot this time, but forgot to properly estimate 1/8″ with it. It is a bit too wide which I find rather annoying…blast!

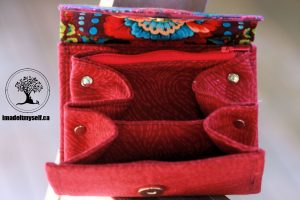
Oh, and just because I can, I made a mini NCW to match with the remaining fabric. Guess what? The mini fits exactly, I mean exactly, into the bottom on this bag. Sweet.


So that is my journey with the Tremont Crossbody Bag so far. I kinda wanna maybe make some more as it is a very satisfying design to sew up. The availability of video tutorials is amazingly helpful and I see there is a backpack conversion hack out there to try.
I posted on Instagram with the hashtag #tremontcrossbodybag. There are some great makes out there. I hope you enjoyed taking this little journey with me.
Please leave a comment below if you have any questions or comments.
Share your thoughts on this post here: